
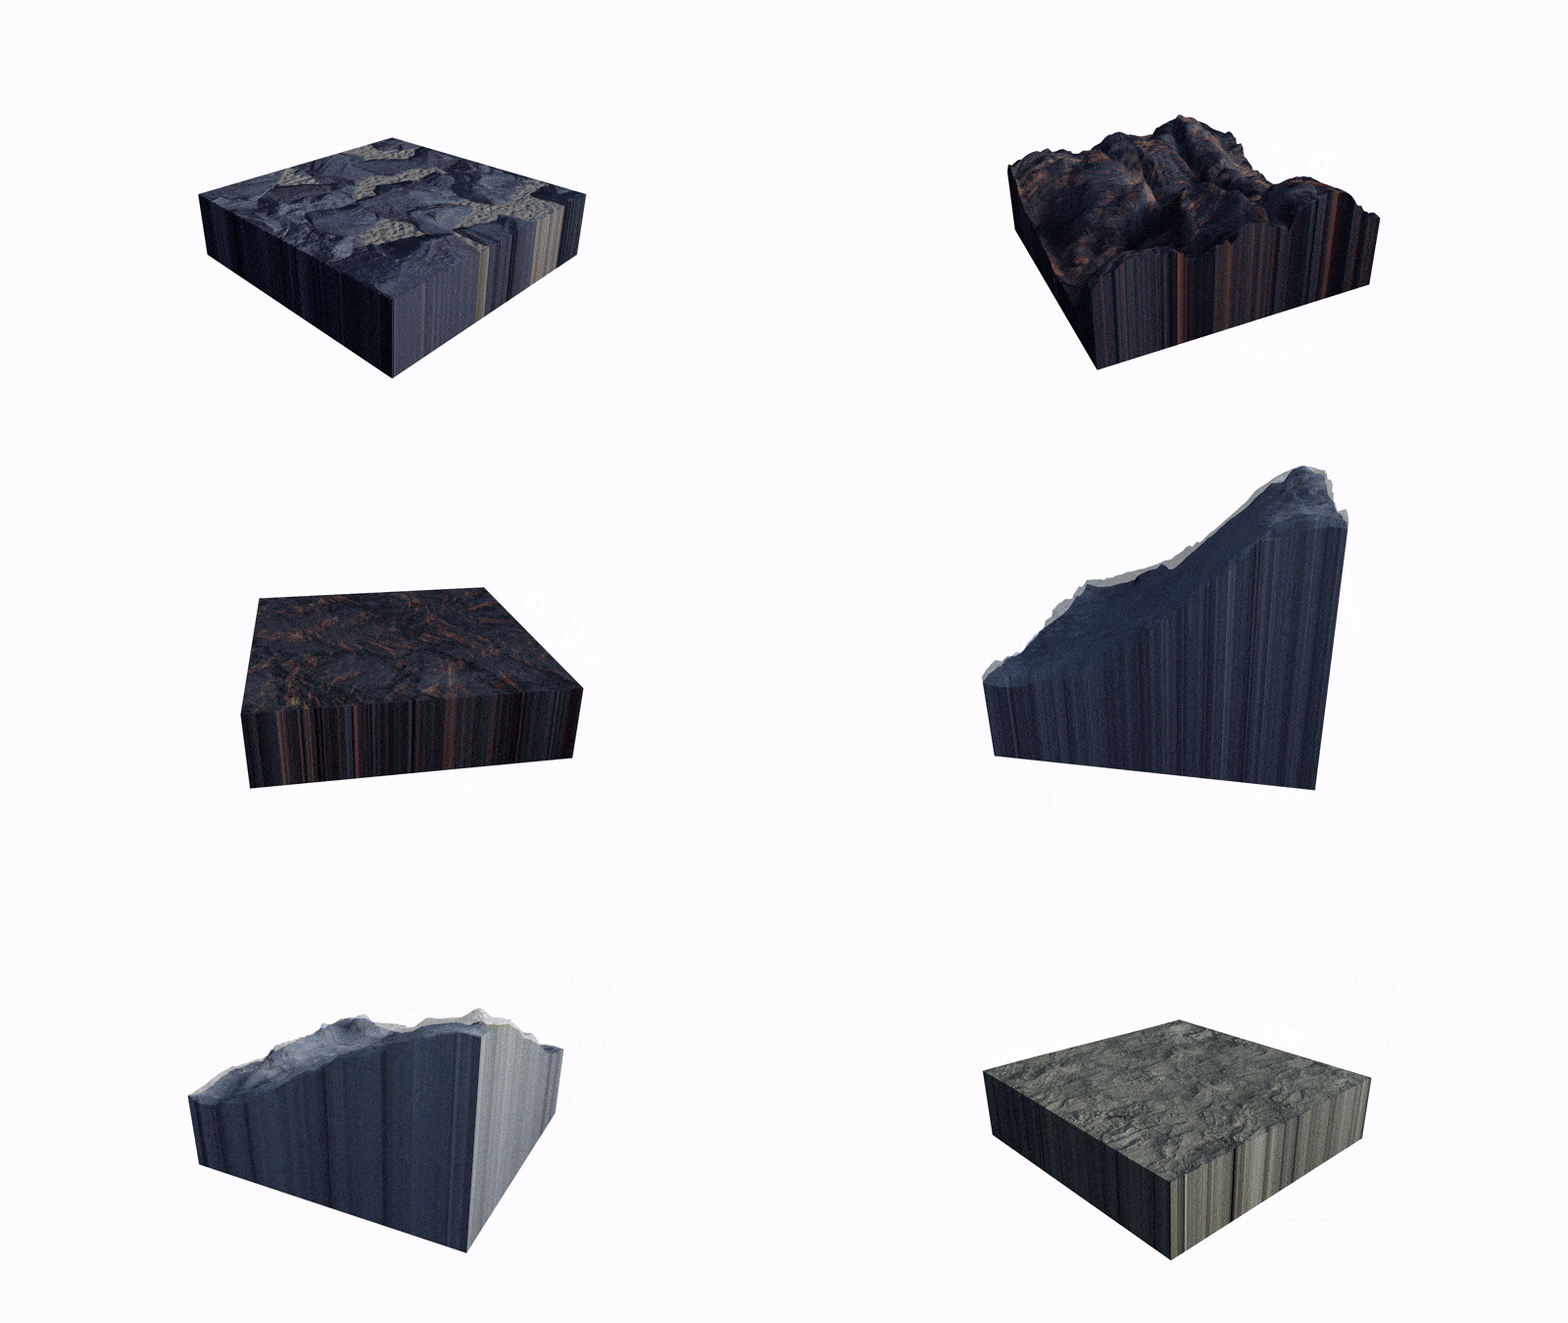
Seamless Quality
Smart Surfaces use seamless textures, allowing them to snap together cleanly, like LEGO pieces.
High Quality, Optimized and Customizable
Built with 4K resolution textures and fully adjustable PBR materials, Smart Surfaces come with presets that give you complete control over the base texture, detail maps, bump maps, and environment maps.
Each model uses only 24 MB of memory.
Copyright Free
All models are original, and all textures used are CC0. You can freely monetize any creations that use them without worrying about copyright infringement.
Endless Combination
Smart Surfaces offer broad versatility. There are hundreds, possibly thousands, of combinations to generate the surfaces that meet your desire. Watch the video located in the Installation & Tutorial tab to learn more about some of the use cases.
Flexes
Smart surfaces offer 10 flexes to control the geometry to your liking, including...
-
Displacement - Displaces the height of the 2 dimensional texture to make it 3 dimensional.
-
Terrainify - Adds additional height variation to give the surface a more terrain-like appearence.
-
Modular - Sinks the edges of the model down in elevation to allow fitting into other geometry.
-
Cliff - Generates a steep incline to create cliff faces.
-
ExtendBase - Extends the bottom of the model to fix self clipping issues.
-
Slopes - Generates slopes that can be combined together with other smart surfaces to create hills.


Installation Process
Smart Surfaces are ready to use models, packaged in the form of a mod, that you add to your directory.
1. Installing the mod
Drag the folder “fluidscriptstudios_tools” directly into your mod directory
“Steam\steamapps\common\SourceFilmmaker\game”
If prompted to replace, select "Yes replace."
2. Update gameinfo.txt
Open the gameinfo.txt file that your Source Filmmaker uses, typically located in your usermod folder, and add a line:
Game fluidscriptstudios_tools
Save and close your gameinfo.txt file. That's it you're done!
[TIMESTAMP 00:00 - 02:54]
[TIMESTAMP 02:55 - 06:58]
[TIMESTAMP 06:58 - 19:04]
[TIMESTAMP 19:04 - 29:32]
[TIMESTAMP 29:32 - 51:16]
Installation Procedure
Loading Presets
Material Paramaters
Slider Controls
Demonstration
Locating and Opening your Models
Typing in "smart" in the Model Viewer will bring up your models. For your convience, here are the canonical names of the model files.
barren_smartsurface.mdl
beachrock_smartsurface.mdl
bluerock_smartsurface.mdl
brownrock_smartsurface.mdl
deadrock_smartsurface.mdl
dunes_smartsurface.mdl
lowland_smartsurface.mdl
murk_smartsurface.mdl
sand_smartsurface.mdl
snow_smartsurface.mdl
volcanic_smartsurface.mdl
Load Presets for More Controls
Material Presets
The package also comes with several presets that you can load onto the model, to give you instant access to all of its material parameters.
1. Add override materials to the model you've loaded into your session
2. In the element viewer on materials group, select import element.
3. Navigate to "fluidscriptstudios_tools\elements" and select the element with the name that matches your model. A list of material paramaters will become available to you. If you want to know what each parameter does, i recommend watching the installation & tutorial video above.
The canonical names of the VMT's and textures used are as follows
smartsurface_barren.vmt
smartsurface_beachrock.vmt
smartsurface_bluerock.vmt
smartsurface_brownrock.vmt
smartsurface_deadrock.vmt
smartsurface_dunes.vmt
smartsurface_lowland.vmt
smartsurface_murk.vmt
smartsurface_sand.vmt
smartsurface_snow.vmt
smartsurface_volcanic.vmt
smartbarren_a.vtf
smartbeachrock_a.vtf
smartbluerock_a.vtf
smartbrownrock_a.vtf
smartdeadrock_a.vtf
smartdunes_a.vtf
smartlowland_a.vtf
smartmurk_a.vtf
smartsand_a.vtf
smartsnow_a.vtf
smartvolcanic_a.vtf
smartbarren_b.vtf
smartbeachrock_b.vtf
smartbluerock_b.vtf
smartbrownrock_b.vtf
smartdeadrock_b.vtf
smartdunes_b.vtf
smartlowland_b.vtf
smartmurk_b.vtf
smartsand_b.vtf
smartsnow_b.vtf
smartvolcanic_b.vtf
Procedural Presets
In addition to material presets, there are two procedural presets you might want to add to your model, so that you can control the properties of many models at once, without having to click on each model every time.
1. Right click on your model, select "View in Element Viewer" and select "Animation Set"
2. While in this area in the element viewer, navigate to Presetgroups. Then right click and select import element.
3. Navigate to "fluidscriptstudios_tools\elements" folder in your directory and select "Procedural Preset - Smart Surfaces". Under Procedural Presets, five sliders appear. Selecting many models at once, and then using any these five sliders will allow you control all of them.
4. That's it your done!
Room Creator -- Coming soon
Making rooms, houses and buildings can be hard because of the severe lack of well made assets. But now, you can take your environment design to the next level with the Room Creator.
Create your room, and attach the pieces together to create your interior scene in minutes!
The Room Creator was specially designed with Filmmaking in mind, with a focus on triple AAA quality and optimized for use in the Source Engine.

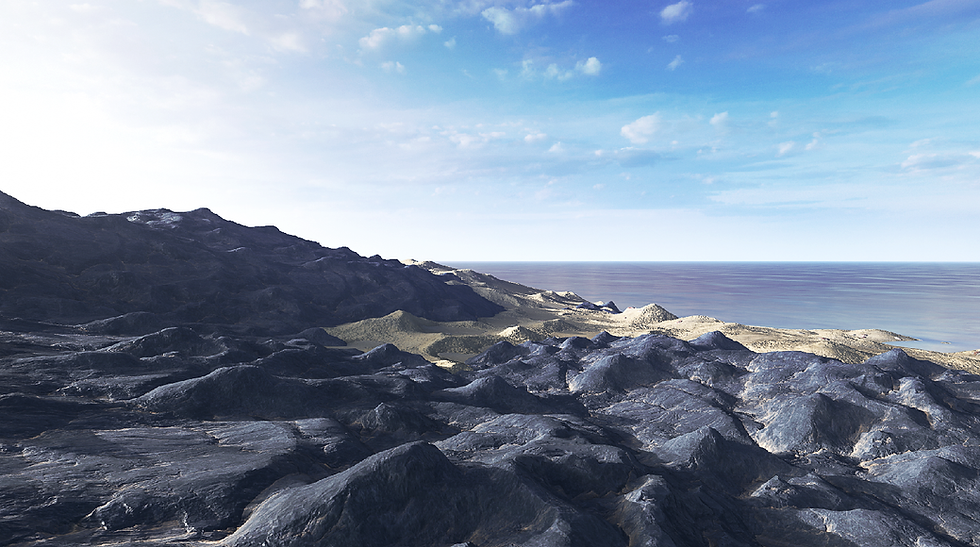
Smart Surfaces Volume 2 introduces a set of models designed to let you quickly build detailed terrains and customizable surfaces, powered by flexes that let you shape and adjust the geometry to fit almost any scene.
This volume contains 11 seamless textures: Barren, Beachrock, Bluerock, Brownrock, Deadrock, Dunes, Lowland, Murk, Sand, Snow, and Volcanic. The Volume 2 Freebie contains 1 (Deadrock).
With adjustable materials, and countless combination options, Smart Surfaces give you a fast and efficient way to create unique environments with exceptional AAA quality.


